Settings for safe and optimal Windows (Part I)
When install new Windows, or restore from a ghost image that not created by yourself, we usually don't have an OS as what we want, so we need to do some settings to make Windows run safely and smoothly, especially fits blind's needs.
When install new Windows, or restore from a ghost image that not created by yourself, we usually don't have the PC with OS as what we want, so we need to do some settings to make Windows run safely and smoothly, especially it fits blind's needs.
Below are the tasks which usually use in this article:
Open Run dialog: Windows+R.
Open Properties dialog: Alt+Enter.
Open context menu: Application or Shift+F10 - same as right mouse click.
Open Search box or Cortana: Windows +S.
Right now, Jaws or NVDA has not install, so we can't do anything with no speech. The only way is using Narrator. Press Control+Windows+Enter for starting or exiting this program. For old Windows version, press Windows+U.
Press Windows+M to minimize Narrator and return to Desktop. Now you can install Jaws or NVDA, or perform settings using Narrator.
Safety first!
Microsoft has supplied three tools to make your pc run safely, and we shouldn't disable it until you have other better solution. Those are:
- Windows Defender.
- Windows Firewall.
- User Account Control (UAC).
In the Windows install source, these turned on by default, but in the ghost file, it usually turned off by the person who created the ghost image for some reason, so we should check to make sure these turned on.
Has Windows Defender run?
At the first icon on Desktop (current logged on user), open context menu, and check if exists the option called: Scan with Windows defender. If not, that mean this program not run yet. We should check and turn it on.
Turn on or off Windows defender
Some software required anti-virus program to be turned off before installing. And here are the steps for that task:
- Open Run dialog, type this command, and press Enter: gpedit.msc
- Group policy editor open, navigate to Computer Configuration/Administrative Templates/Windows Components/Windows Defender Antivirus.
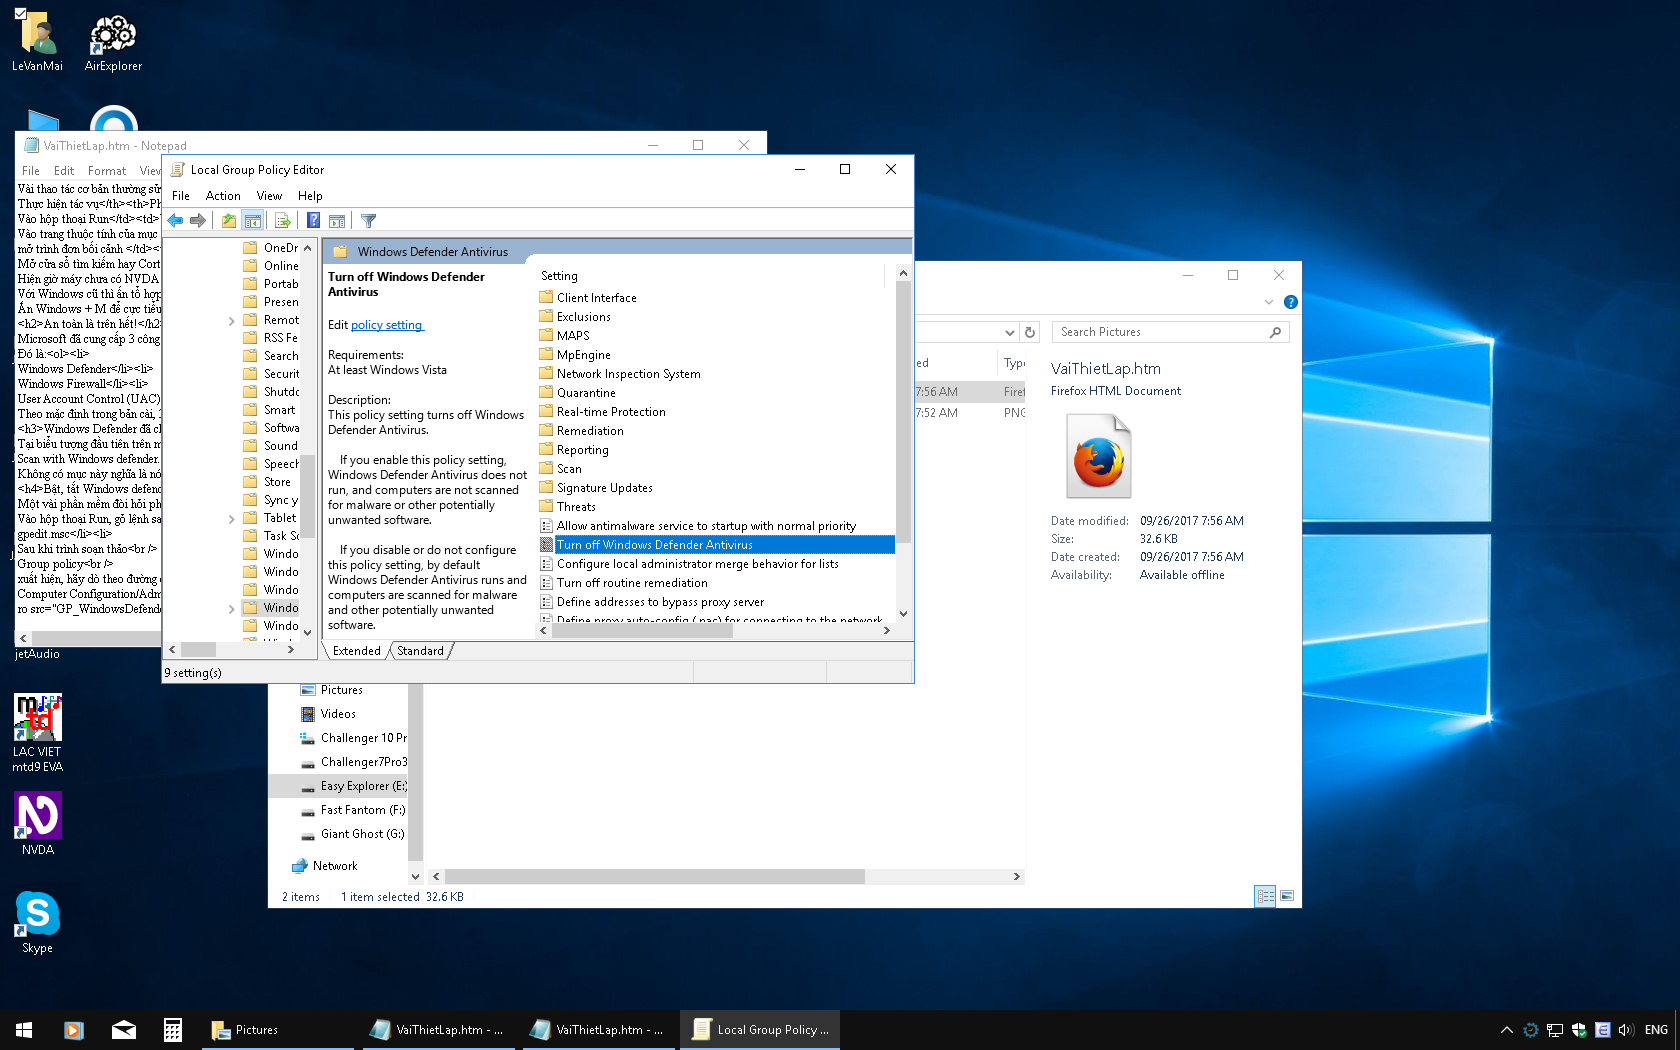
- Press tab to move focus to the right pane, find and press Enter on Turn off Windows Defender.
- Choose enable to turn off, and disable to turn on Windows Defender.
Now you can press Alt+F4 to close group policy editor.
Note that you must restart your pc, or sign out, then sign in to your current account again for the settings to take effect, or you can type this command in the Run dialog, then press Enter: gpupdate /force.
Activate, and performs Windows Defender settings
Type this keyword in the search box: defender.
In the result, find and enter on Windows defender Security center.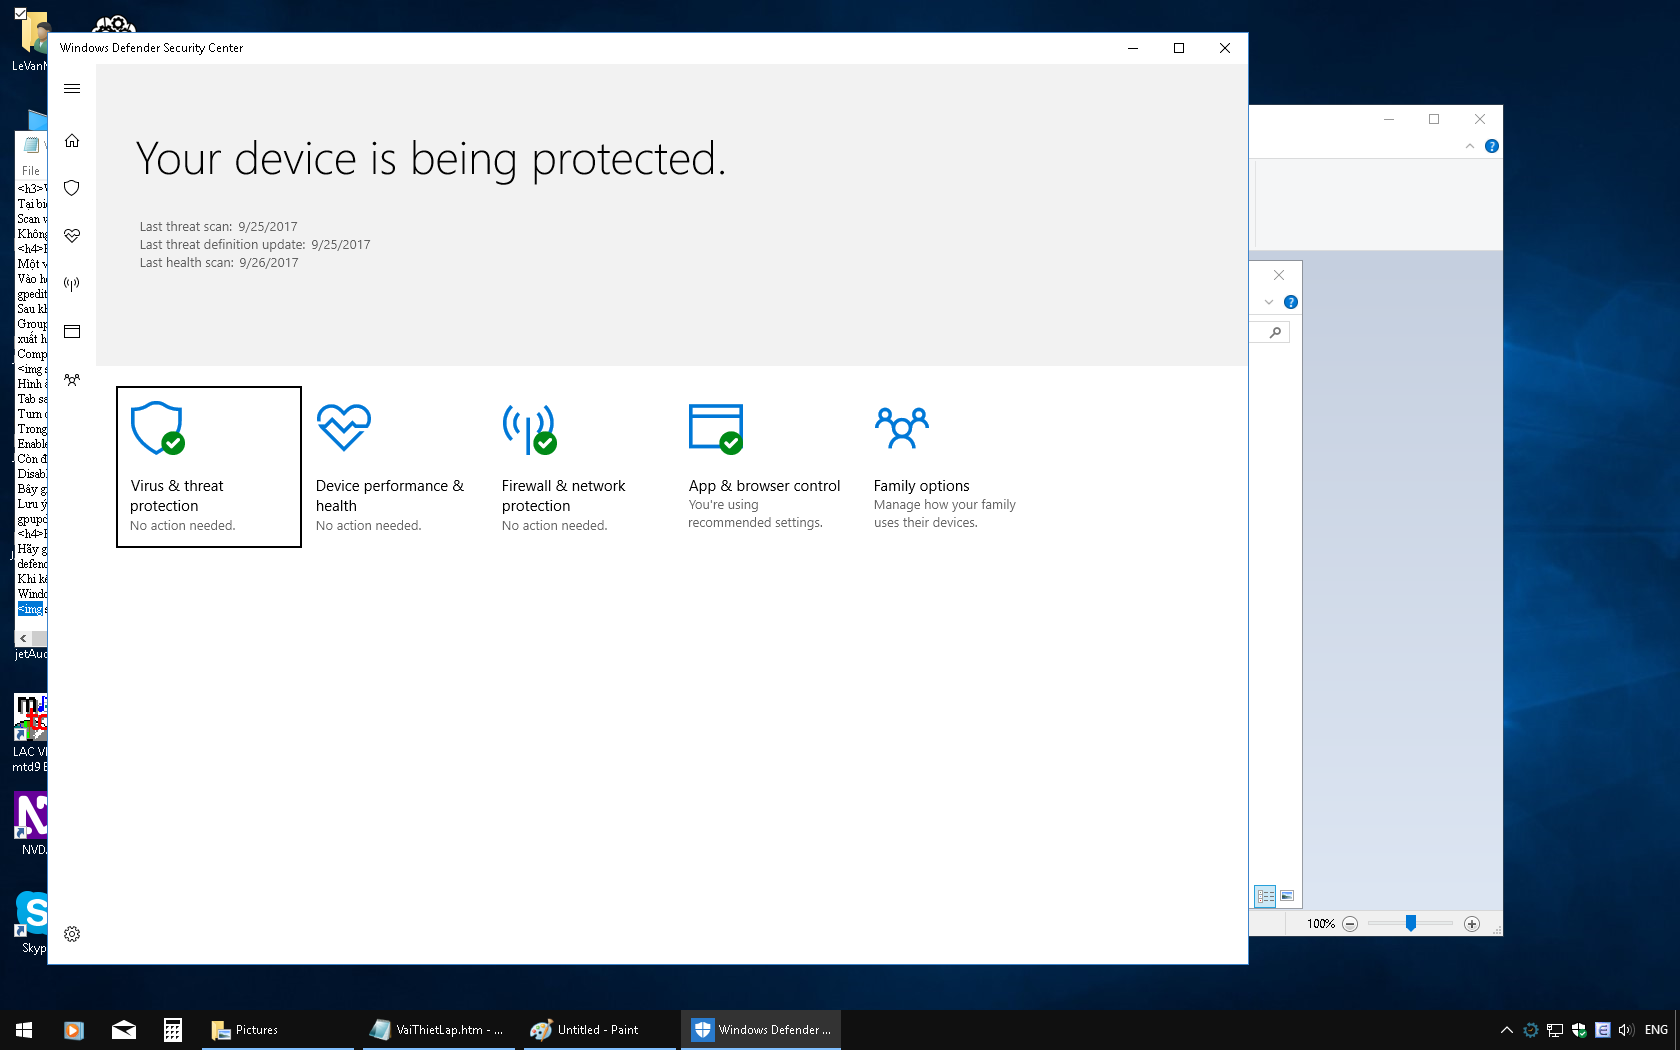
Here you can configure what you need. You can also perform a quick scan. Also check the system tray to make sure it exists the No action needed icon. If this displays Action needed, that mean there are some activities required you to complete, or you did some wrong configurations. If not exist this icon, you need to check in task manager.
Check Firewall status
You can check the firewall status by type firewall in the search box, and find check Windows firewall status, and check in Change Windows firewall turn on or off.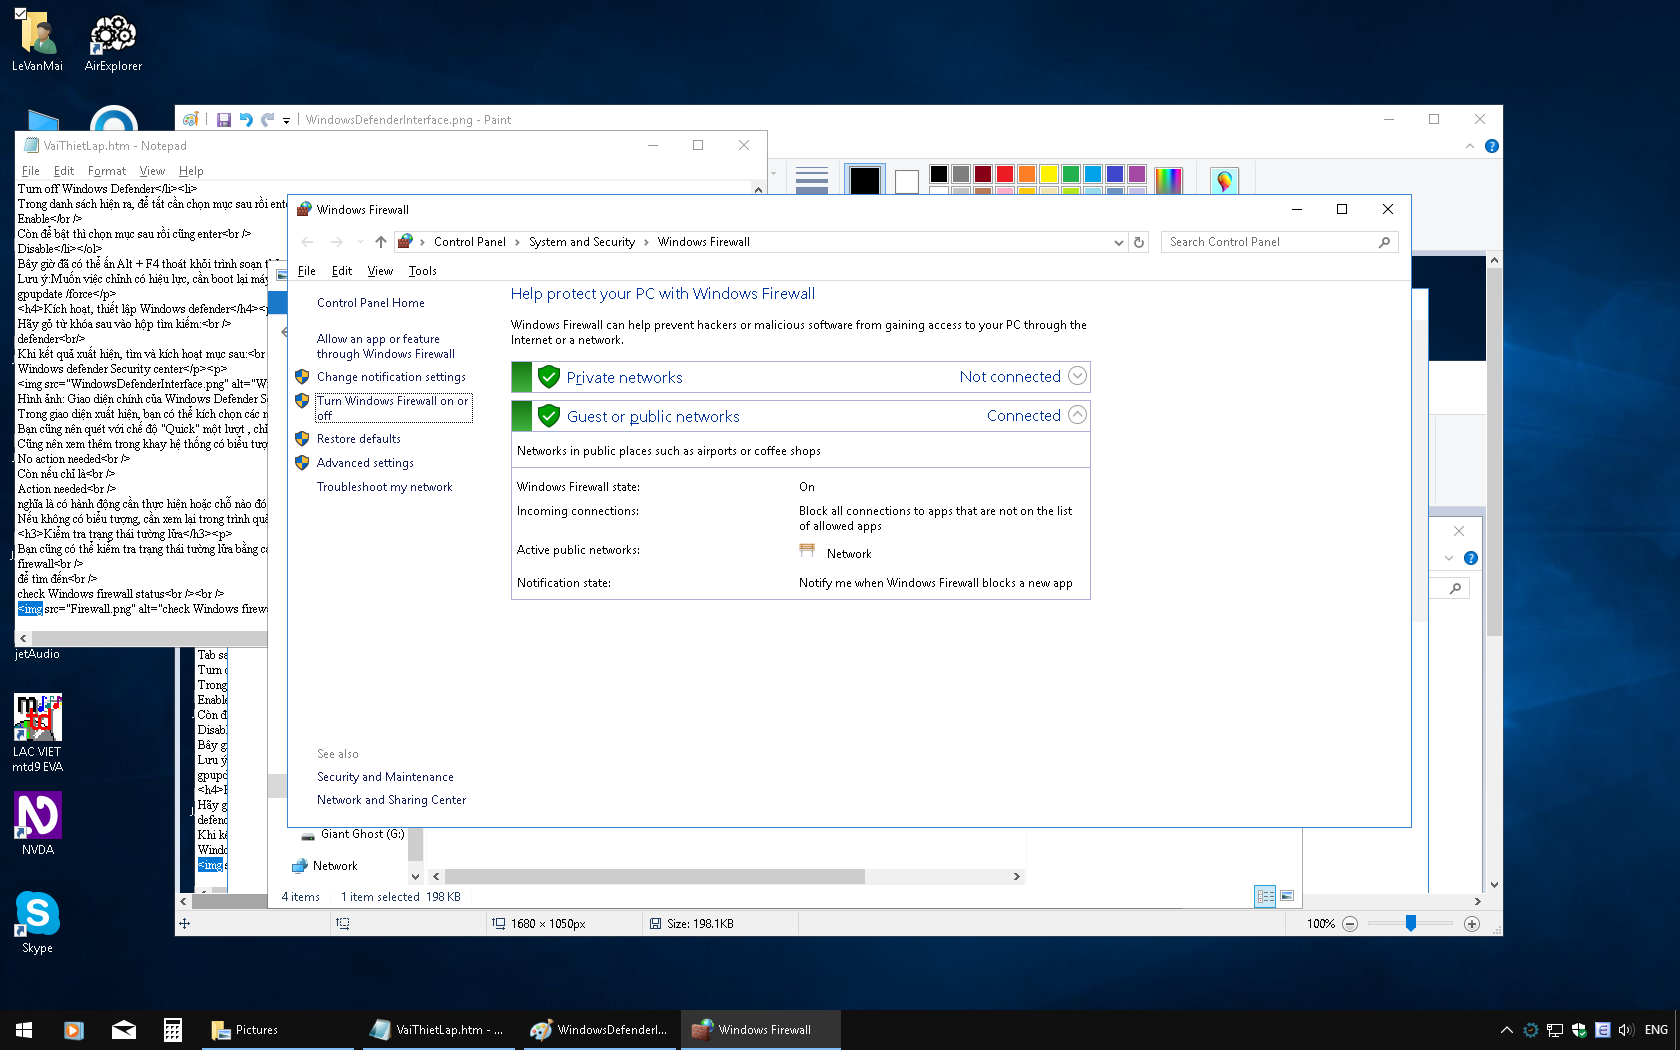
User account control
This use for detecting, and preventing unknown programs from running, so we shouldn’t adjust it to 0 % - mean turn off it.
When running well-known programs, if there is an alert sound and the user account control dialog appears with no as default button, press Alt+Y to activate yes button to allow the program to continue running. Press spacebar to activate no button if you don't want program to run.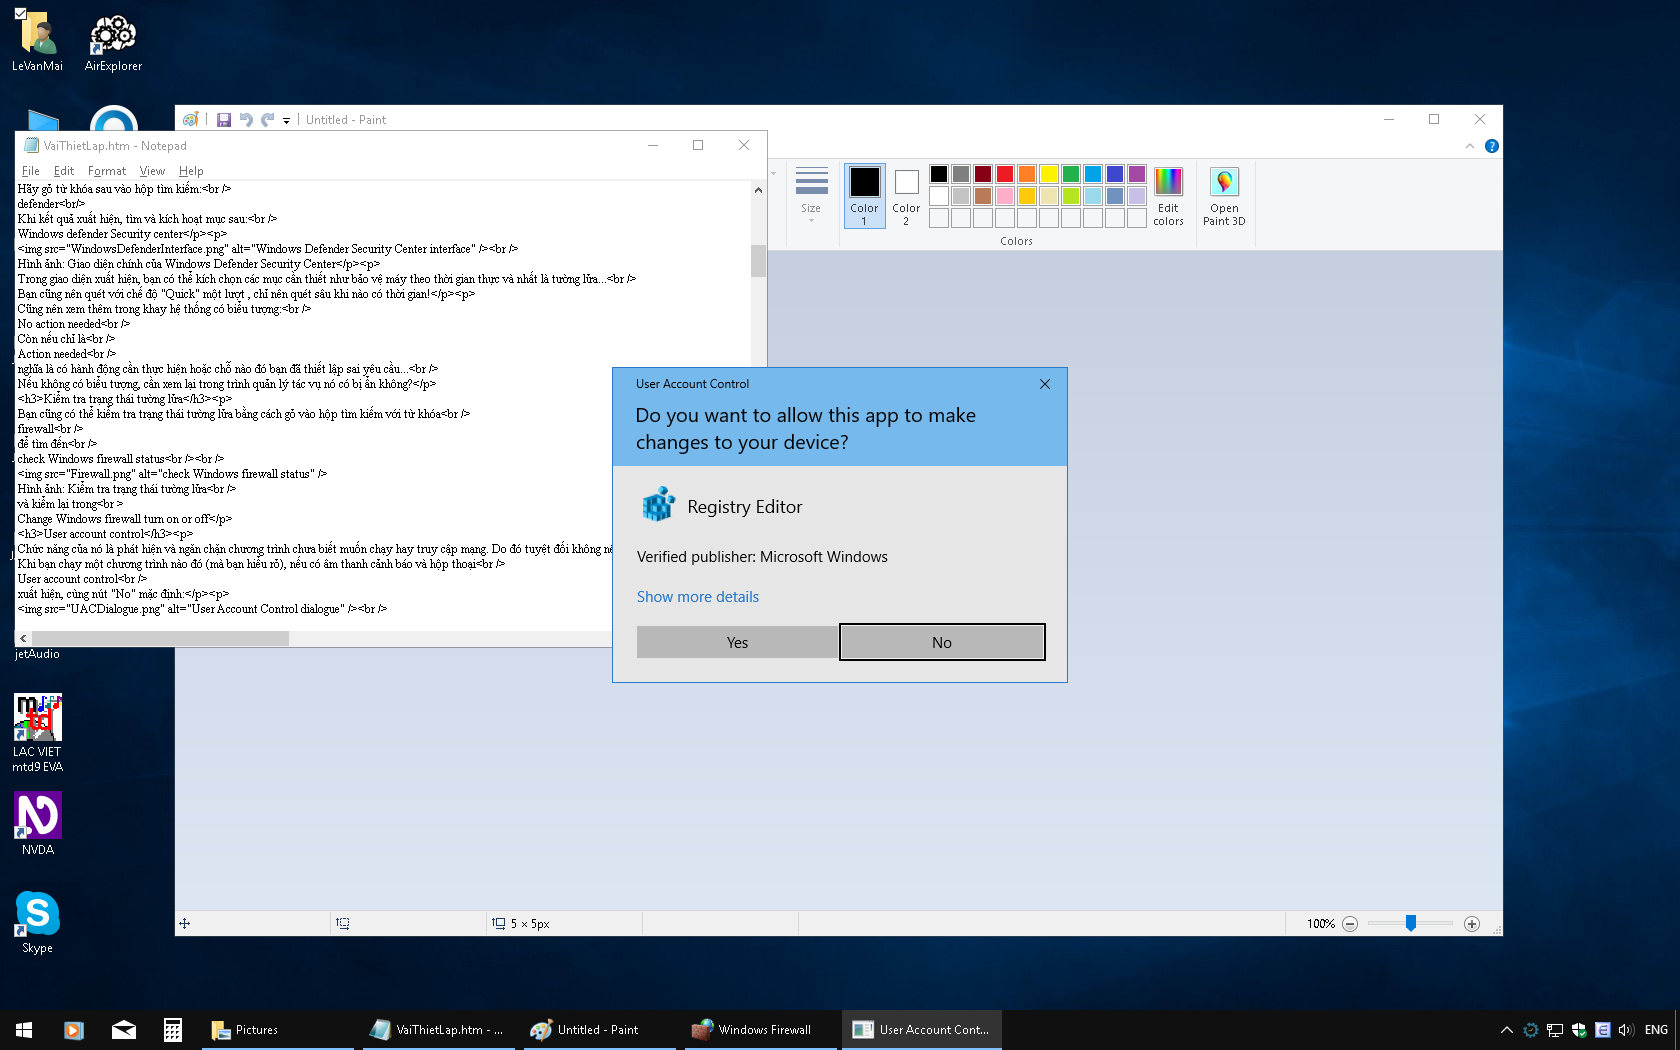
Rename Administrator account
Administrator is the user account that just for people who has permission to do all things on the PC, so this might be a good opportunity for viruses or spyware to attack and harm your computer. Some ghost image uses this name for default account, so we should change this name to something like our name. There are many ways to accomplish this task. The following step change the administrator account name via Computer Management:
- Type Computer Management in the search box and press enter
- Navigate to
System Tools \Local Users and Groups \Users.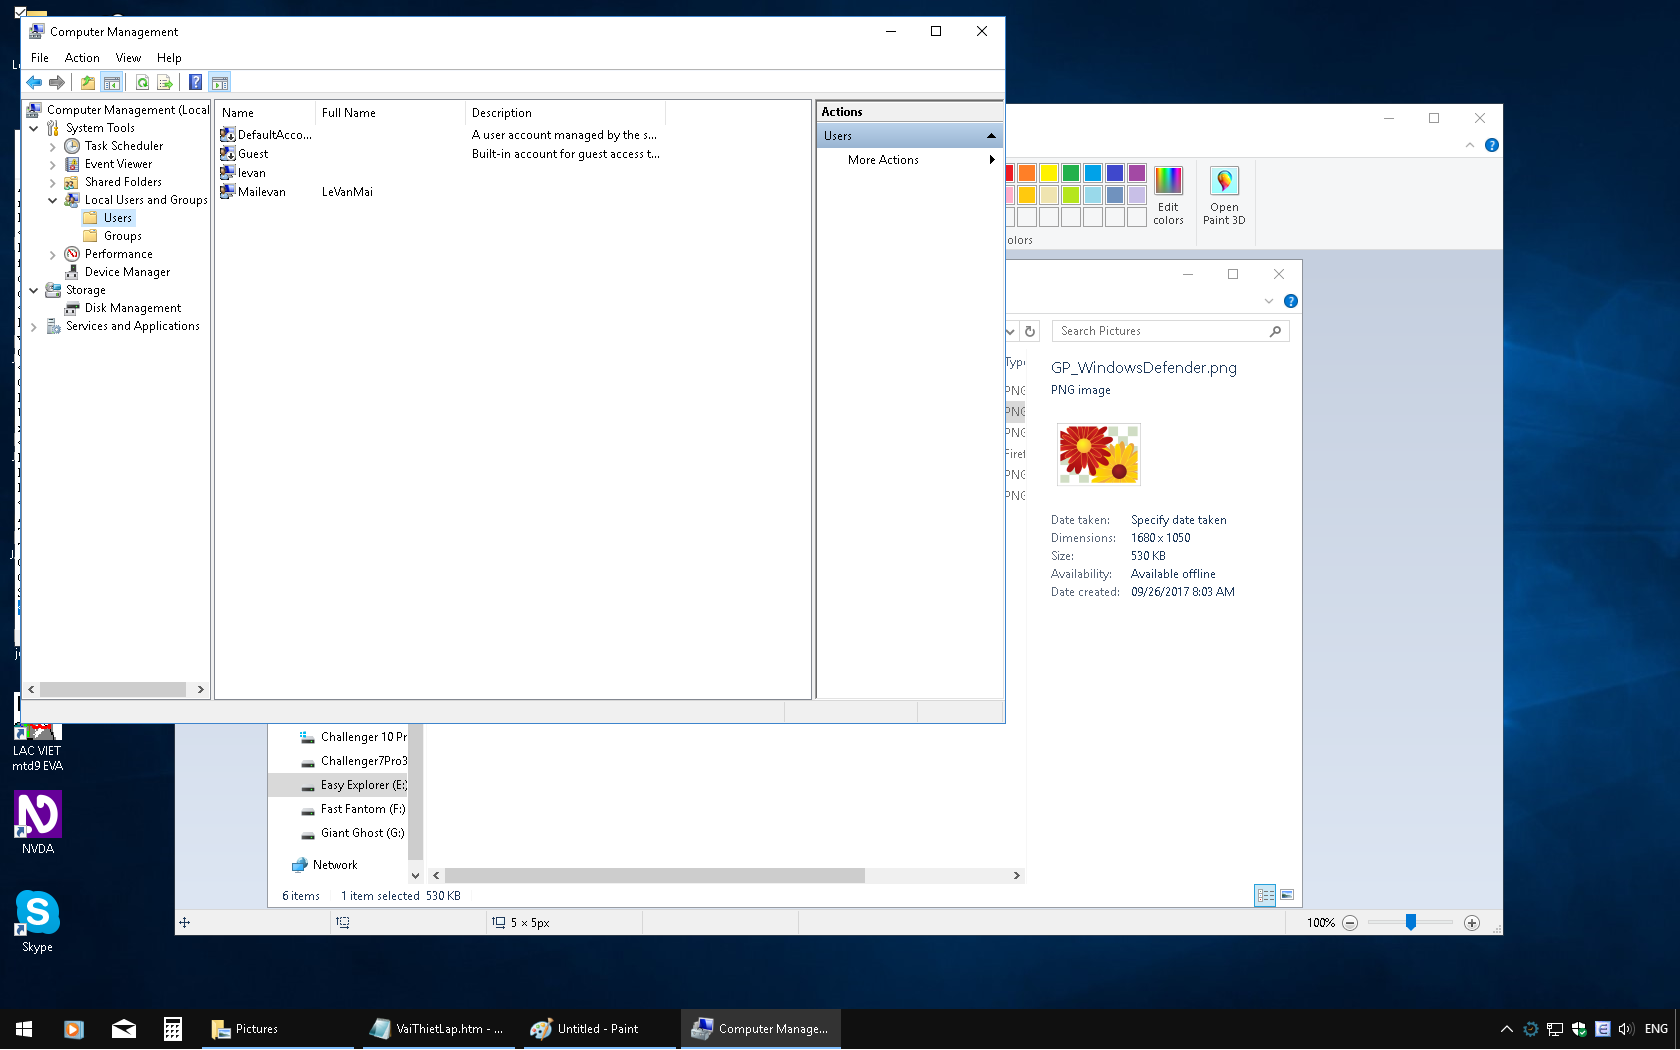
- Tab once to the right pane, find the Administrator account, and open its context menu.
- Enter the Rename option in the menu.
- Type the name that you'd like, and press Enter.
Note that the account name shouldn’t' has any spaces, although it has more than one word. If you want to display the name other than account name, access the properties page of the account, and type it at the Full Name field.
Restart computer, or sign out, and sign in again to apply changes.
Share via:
EmailFacebookTwitterGoogleLinkedin


